
The list of boat projects is steadily growing as the days pass by. We have not even finished getting all of our stuff onboard and yet continue to find new projects to add to the list. Our primary goal for the end of this week is to empty the van and load everything onboard Bosco
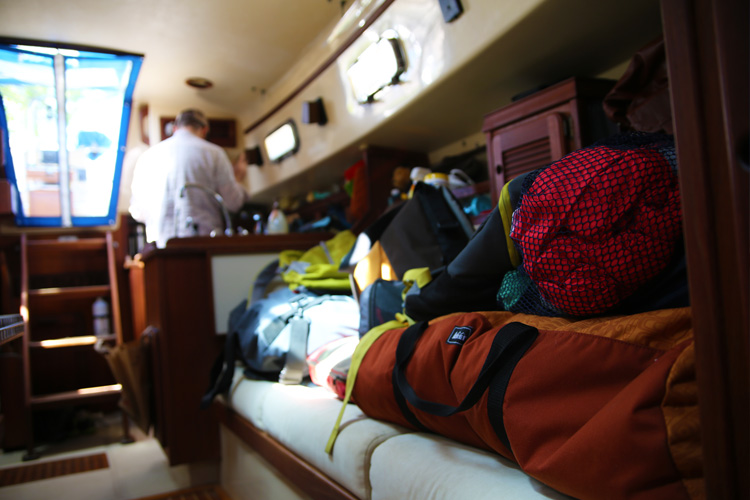
When we moved aboard, we stored our clothes in two large duffel bags. However after just a couple of HOURS, random articles of clothing were scattered all about the boat. Its quite funny (and kind of sad) because we have simply resided to wearing the same thing all week (mostly because we are doing hard labor and only have one pair of "work" clothes). Not the most hygienic I know!
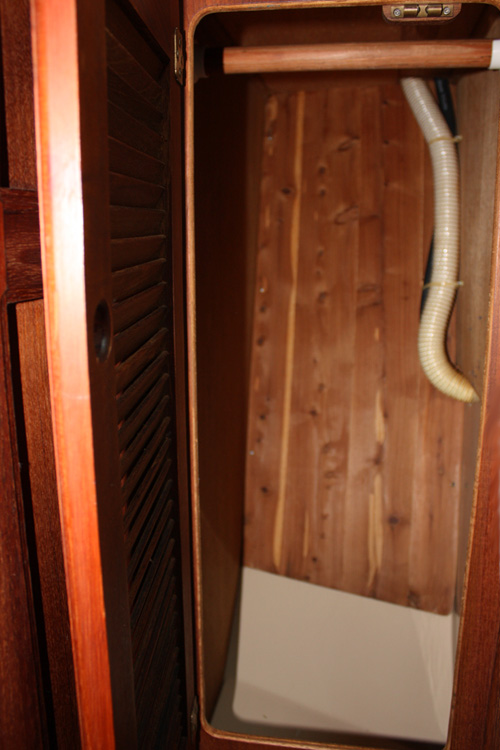
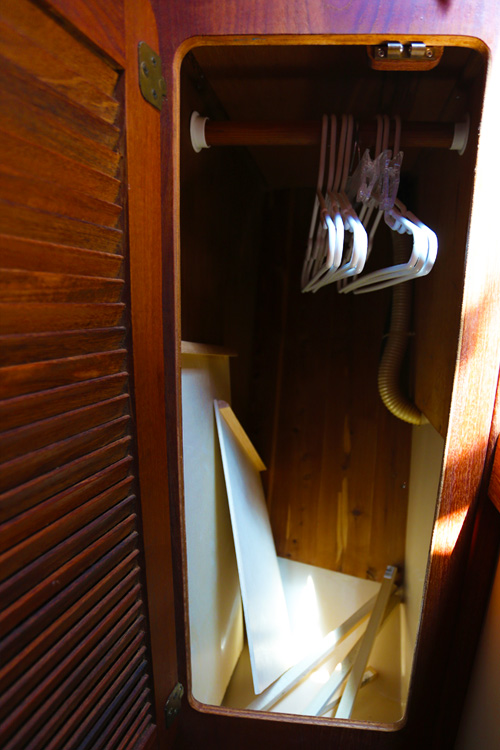
There are two identical compartments, like miniature closets, that sit side by side, on opposite sides of our V-berth cabin. We decided that the one inside the V-berth will hold all our clothes and the other will hold all our coats and foul weather gear. However when I attempted to hang up everything, I knew that there was NO WAY IN HELL our stuff would fit like this. The tiny compartments were in desperate need of some space management help in order to fit the vast amount of my clothes... and maybe Jake's clothes if room is permitting. :)
So I did a test to see if there was space enough to fit our clothes if they were folded, rather than hung up. And realized quickly that this solution would be much more conducive to our small living quarters.
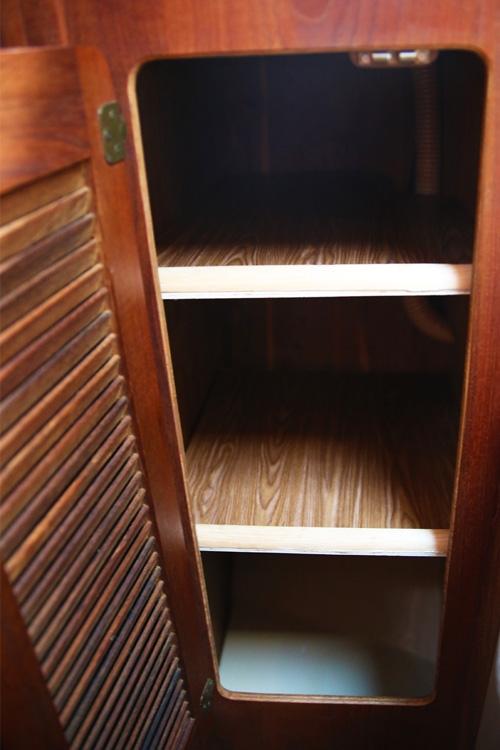
Jake fabricated cardboard templates from basic measurements that we took. We determined that two shelves would be perfect for the space, but they would both have slightly odd shapes since the back of each compartments curves significantly. They looked as if they'd be a perfect fit so we headed to the hardware store for materials. I thought it'd be a good idea to add a curved wooden "lip" on the front edge of the shelves to hold stuff in place better (quite common on all boat shelves).
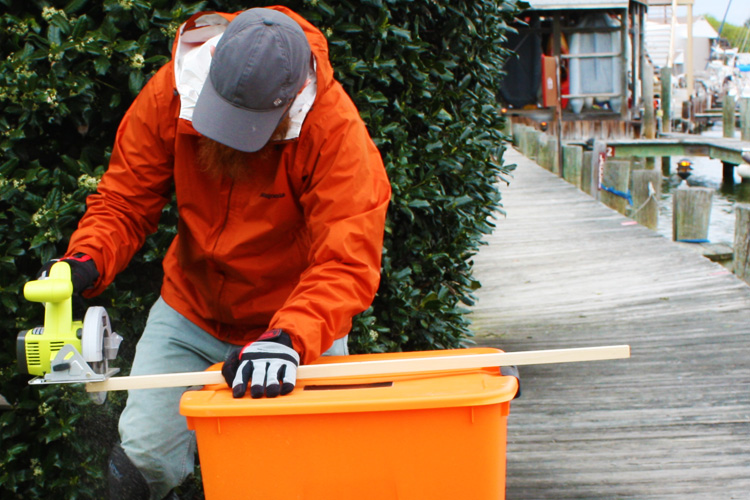
Cutting the plywood and mounting blocks took a lot less time than imagined, since we brought a large plethora of tools, including a circular saw. We used a hand sander to fine-tune the edges since the wood wasn't too thick and had the basic pattern set for our shelving unit.
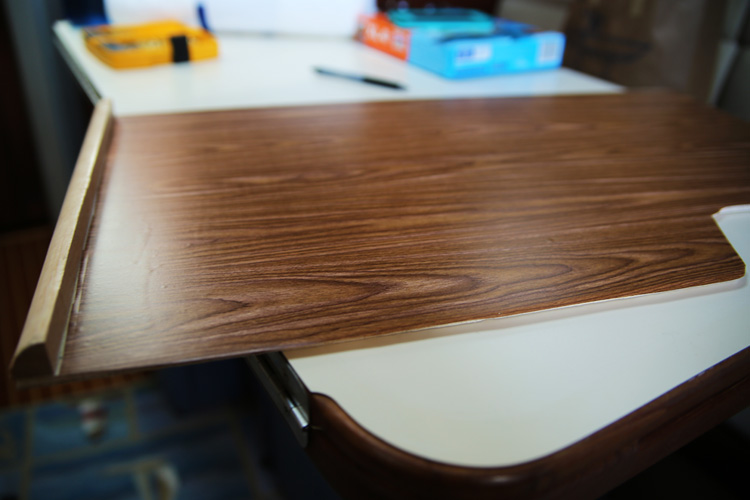
Then we mounted the lip to the front edge of both of our shelves with glue and screws for extra holding power. Finally, I added some wood-colored contact paper to give it a nice smooth finish so that we wouldn't cut ourselves or our clothes w/ the raw wood.
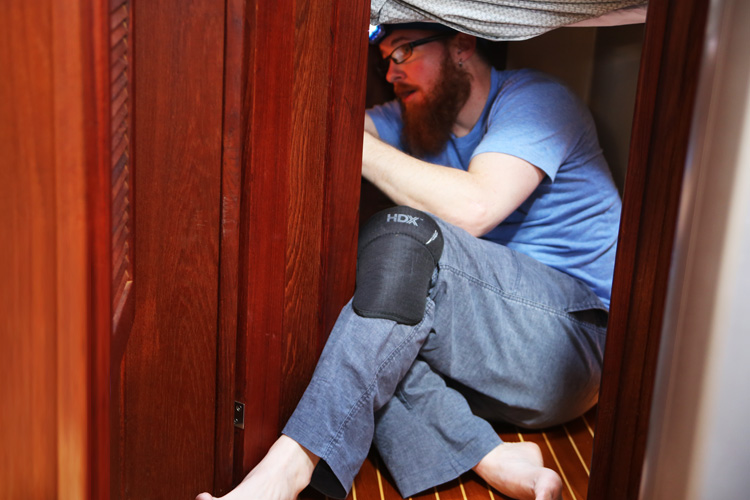
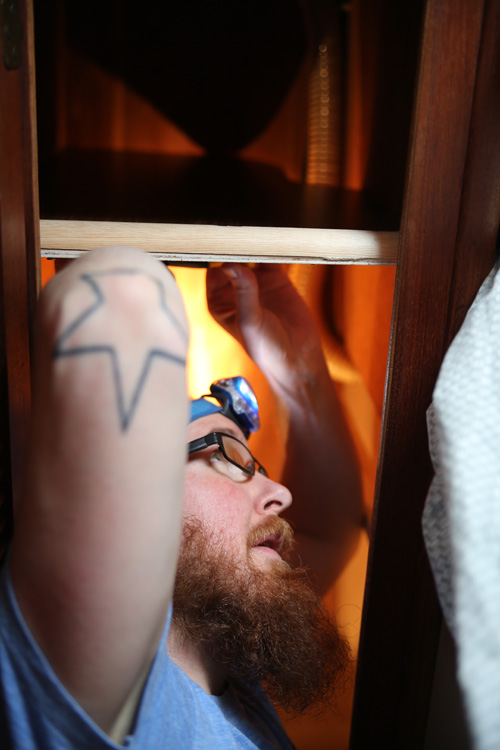
Up to this point, the project was going very smoothly and we thought the installation would be relatively simple. But, then we remember we are on a boat, and no boat project lasts less than 4 hours. And this one lived up to that reputation nicely. The first mounting block went in easy enough, but the the next one right across from it was a challenge because we had to drill through fiberglass. After a lot of unique yoga positions, scrunching and clambering to get the wood pieces in place we realized that the screws weren't holding very well or going through the fiberglass easily. So we resorted to gorilla glue on the remaining shelf which worked beautifully. Jake did reinforce the upper shelf with a couple of smaller screws also, though that was probably overkill.
8 comments on “Lets build some shelves”